
To safely charge a positive ground car battery, turn off the car, wear protective gear, use a compatible charger, connect leads correctly, and monitor the process. Check voltage to ensure a full charge.
Introduction:
Brief Overview of Positive Ground Car Systems:
Positive ground car systems, which were common in older vehicles, have their positive terminal connected to the vehicle’s frame, instead of the negative terminal. This system was used in vehicles like tractors and older cars from companies such as John Deere, Farmall, and Case-IH, especially in models made before the 1950s.
In a positive ground system, the positive lead goes to the car’s body, which serves as the ground. This is different from modern negative ground systems, where the negative terminal is connected to the vehicle’s chassis.
Importance of Charging a Positive Ground Battery Safely:
It is very important to charge a positive ground battery the right way to avoid damage to the battery, vehicle, or charging equipment. Because of the special way the positive ground system works, it’s essential to follow the correct steps to ensure the battery charges safely.
Not following safety rules can lead to problems like leaks of battery acid, electrical short circuits, or even explosions. This guide will show you how to safely charge a positive ground battery.
Understanding Positive Ground Systems:

What Is a Positive Ground Car System?
A positive ground car system means the positive terminal of the battery is connected to the vehicle’s frame, not the negative terminal like in most cars today. In these systems, electricity flows from the positive terminal to the ground, and the car’s body acts as the return path for the electrical circuit.
How It Differ from Negative Ground Systems?
The main difference between positive ground and negative ground systems is the direction of the electrical connection. In a negative ground system, the negative terminal of the battery is connected to the car’s chassis, while the positive terminal is connected to the car’s electrical parts.
The reversed polarity in positive ground systems means you must handle the battery carefully when charging or jump-starting to avoid damaging the system.
Read also: Does Wireless CarPlay Drain Your Car Battery – Here’s the Truth!
Safety Precautions Before Charging:
Ensure the Car Is Turned Off and the Key Is Removed:
Before starting to charge the battery, make sure the car is turned off and the key is taken out of the ignition. This prevents any unexpected electrical surges or short circuits that could cause harm.
Wear Protective Gear (Gloves and Safety Glasses):
Working with car batteries can be dangerous because of the chemicals and gases involved, such as battery acid. Always wear gloves and safety glasses to protect yourself from possible splashes or sparks during the charging process.
Work in a Well-Ventilated Area to Avoid Gas Buildup:
Batteries release hydrogen gas while charging. It is important to work in a well-ventilated space to avoid the buildup of this gas, which could lead to an explosion. Never charge a positive ground battery in a small, closed area.
Gathering the Necessary Tools:
Battery Charger (Ensure It’s Compatible with Positive Ground Systems):
The first tool you’ll need is a good battery charger. Make sure the charger is suitable for positive ground systems. Many modern chargers are made for negative ground systems, so you need one that works with the polarity of a positive ground battery. A trickle charger is often a good choice for charging the battery slowly and steadily.
Jumper Cables (If Needed):
If your battery is dead and needs a jump-start, have jumper cables on hand. These will let you connect a charged battery to your positive ground system safely to transfer power.
Voltmeter (To Check Battery Voltage):
A voltmeter is an important tool to check the battery’s voltage. It helps you confirm that the battery is charging properly and indicates when the charging process is complete.
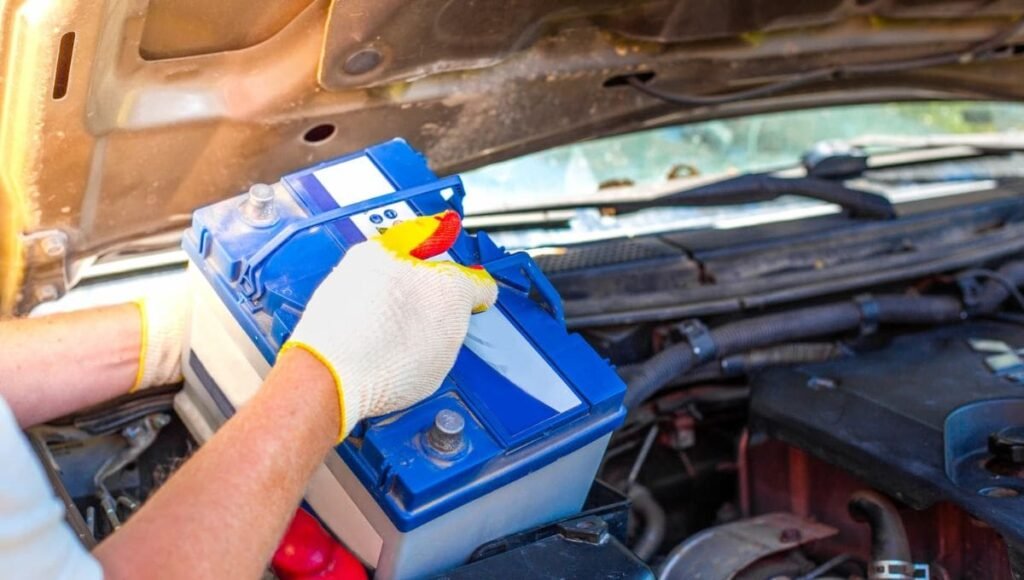
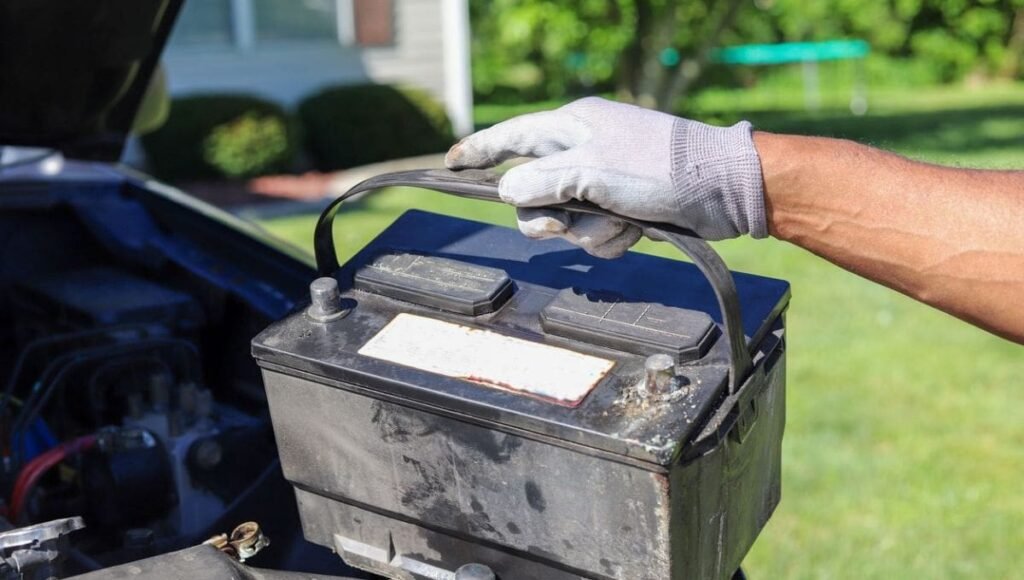
Disconnecting the Battery:

Importance of Disconnecting the Battery Before Charging:
Before connecting the charger, you need to disconnect the battery from the vehicle. This reduces the chance of electrical short circuits or damage to the vehicle’s electrical system while the battery is charging. Disconnecting ensures only the battery is affected by the charge.
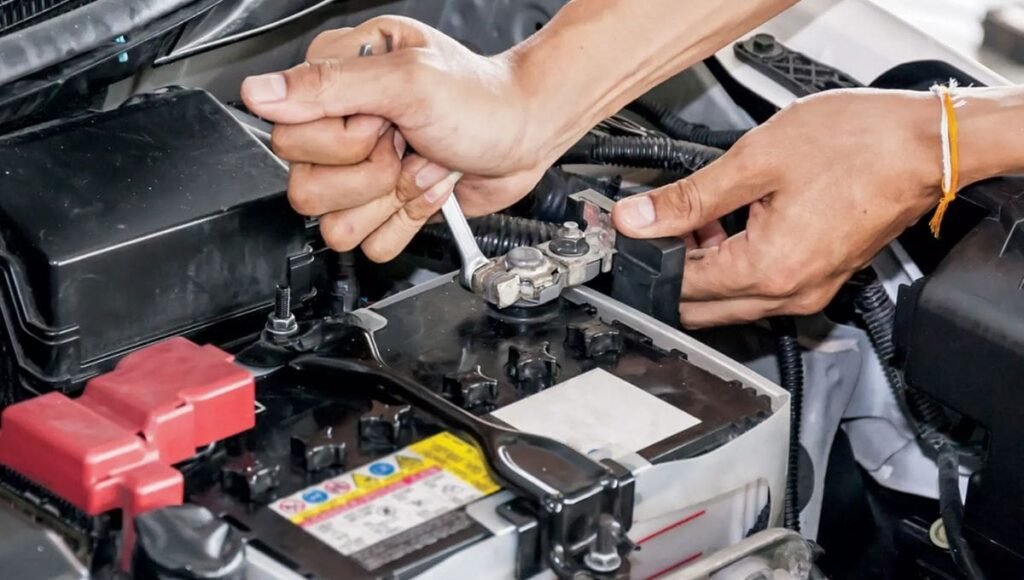
How to Safely Disconnect the Negative Terminal First and Then the Positive:
To disconnect the battery safely, start with the negative terminal (neg). This is important to avoid sparks. Once the negative terminal is removed, you can disconnect the positive terminal.
Always handle battery cables carefully to avoid touching the vehicle’s metal parts, which could cause sparks or electrical problems.
Read also: How Long Can You Safely Keep Your Car in Accessory Mode – A Complete Guide!
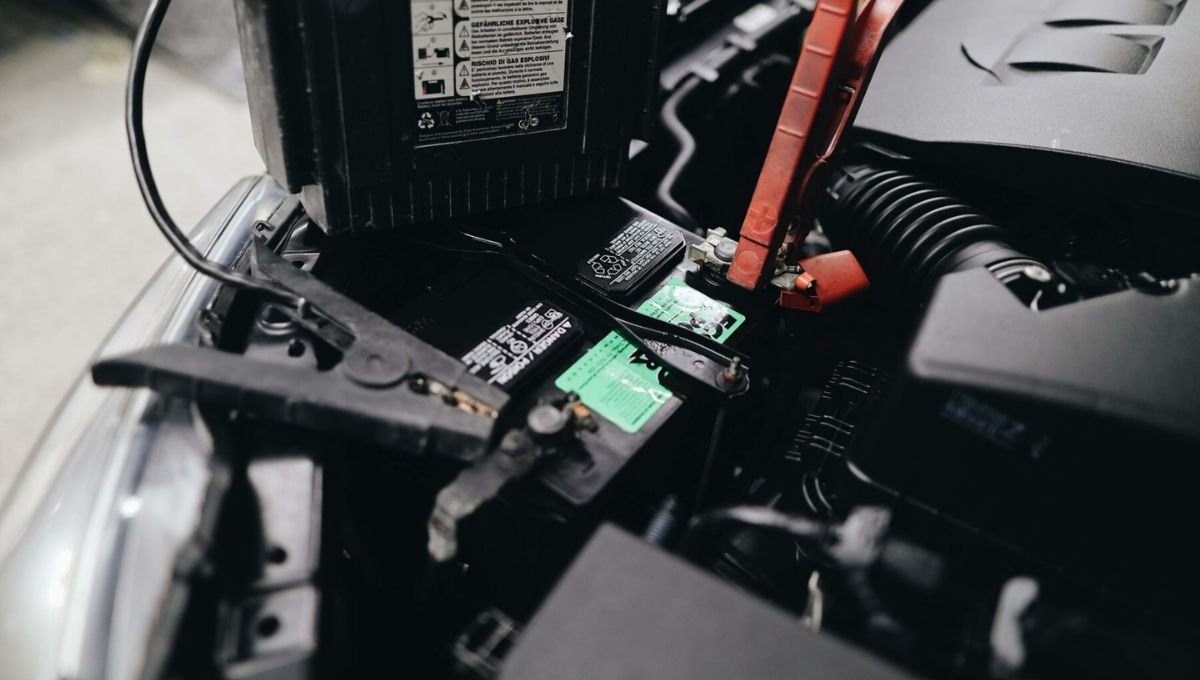
Connecting the Charger to the Battery:
Identify the Positive Terminal (+) on the Battery:
Before you connect the charger, find the positive terminal of the battery. It is usually marked with a plus sign (+) and is often red. Make sure to connect the charger to this terminal first to ensure the battery is charged correctly.
Connect the Charger’s Positive Lead to the Positive Terminal:
Connect the red lead from the charger to the positive terminal of the battery. Make sure the connection is tight and secure. A loose connection could cause inefficient charging or even sparks, which can be dangerous.
Connect the Charger’s Negative Lead to the Grounded Part of the Car or the Battery’s Negative Terminal:
For a positive ground system, connect the negative lead of the charger to the vehicle’s metal frame or a grounded part of the car, not the negative terminal of the battery. This ensures the charger works properly with the positive ground system.
Setting the Charger:
Choose the Correct Charging Setting (Voltage, Amperage):
After connecting the charger, choose the correct voltage and amperage based on your battery’s requirements. For a 6V positive ground battery, adjust the charger accordingly. If you need to charge a 12V system, set the charger to deliver the proper voltage.
Follow the Charger’s Instructions to Ensure Proper Charging:
Always follow the charger’s instructions carefully to avoid overcharging or undercharging. Overcharging can damage the battery, while undercharging means the battery won’t be fully charged.
Charging the Battery:
Start the Charger and Monitor the Battery Charging Progress:
Turn on the charger and start charging the battery. Keep an eye on the process to make sure the charger is working correctly. The charger will show the charging status, and it’s important not to leave it unattended for too long.
Check Periodically to Avoid Overcharging:
It’s important to check on the battery while it’s charging. Overcharging can cause the battery to get too hot or leak acid, which is dangerous. Some chargers will automatically stop charging when the battery is full, but it’s still good to check on it occasionally.
Reconnecting the Battery:

Once Fully Charged, Disconnect the Charger:
When the battery is fully charged, turn off the charger and disconnect it from the battery. Always disconnect the charger’s negative lead first, followed by the positive lead. This helps avoid electrical surges during disconnection.
Reconnect the Battery, Starting with the Positive Terminal Followed by the Negative Terminal
To reconnect the battery, attach the positive terminal first, then the negative terminal. This ensures the battery is connected safely and properly to the vehicle’s electrical system.
Testing the Battery:
Use a Voltmeter to Check the Battery’s Voltage
After reconnecting the battery, use a voltmeter to check its voltage. A fully charged 6V or 12V battery should have a voltage close to 6.3V for a 6V battery and 12.6V for a 12V battery.
Ensure the Battery Is Holding the Charge and Is Ready to Use
Once the voltage is confirmed, make sure the battery holds the charge and is ready to power the vehicle. If the battery does not hold the charge, it may need to be replaced or repaired.
By following these steps, you can safely charge a positive ground battery and make sure it works well in older vehicles and equipment, like tractors and classic cars.
Read also: How to Charge a Car Battery with a Cigarette Lighter – Everything You Need to Know!
FAQ’s
1. What is a positive ground car system?
A positive ground car system is when the positive terminal of the battery is connected to the vehicle’s frame instead of the negative terminal, which is common in older vehicles.
2. Why is it important to charge a positive ground battery safely?
Charging a positive ground battery safely prevents damage to the battery, vehicle, and charging equipment, and avoids risks like battery acid leaks, electrical short circuits, or explosions.
3. What safety precautions should be taken before charging?
Make sure the car is turned off, the key is removed, wear gloves and safety glasses, and work in a well-ventilated area to avoid gas buildup.
4. How do I connect the charger to a positive ground battery?
First, connect the positive lead of the charger to the positive terminal of the battery, then connect the negative lead to a grounded part of the vehicle, not the negative terminal of the battery.
5. How can I check if the battery is fully charged?
Use a voltmeter to check the battery’s voltage; a fully charged 6V battery should show 6.3V, and a 12V battery should show 12.6V.
Conclusion:
In conclusion, charging a positive ground car battery requires careful attention to safety and proper procedure. By understanding the unique wiring system, following correct charging steps, and using the right tools, you can ensure the battery charges safely and functions effectively, preserving the vehicle’s electrical system and preventing potential damage.
Read Also:
Can You Charge a Car Battery While Connected – Find Out Now!
How to Jump-Start a 4-Wheeler Battery Using a Car?
